Optimize images in Photoshop to make the size of it smaller and ready for the website
STEP 1
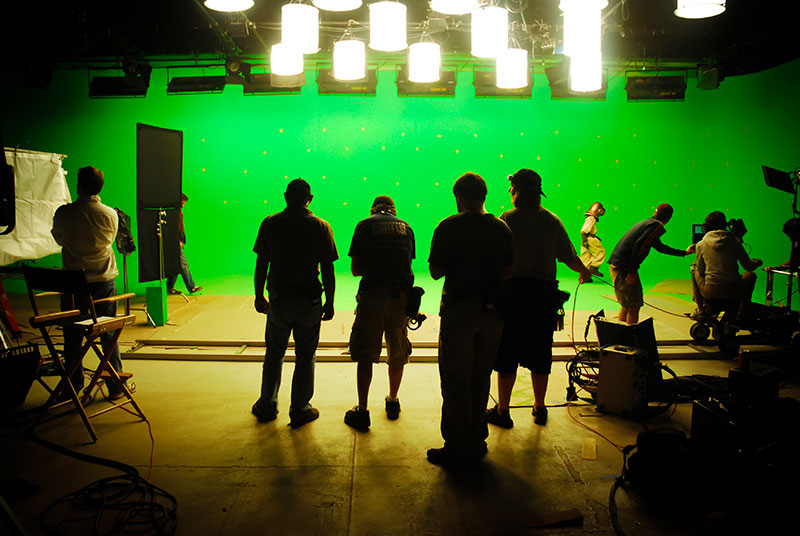
HAVE THE CORRECT LIGHTING:
HERE IS THE METHOD FOR LIGHTING YOUR SCREEN:
- Make sure your greenscreen is FLAT and SMOOTH.
- Shoot in HIGH RESOLUTION.
- Light your screen FIRST to about 40 – 50% luminance.
- Aim for diffused, non-directional lighting that hits your screen from ABOVE.
- Make use of MULTIPLE high-quality lights set up to light the room and screen
- Try measuring the lighting on your screen with a waveform monitor. You will know the green screen is well lit when you see a FLAT LINE across the monitor.
- Rent two 1000-watt lights for lighting the screen itself. Use softboxes, to put around them for diffusing purposes.
Here is the method for lighting your SUBJECT:
- Get a 650-watt light and a 500-watt light, again with diffusion through a softbox or even white bedsheets.
- Make use of a hair light to create an even sharper line between your subject and the background.

STEP 2
PREPARE YOUR SUBJECT FOR THE GREEN SCREEN:
It is vital that you know what type of footage you will be using to replace your background. This will tell you how best to light your subjects in front of the green screen.
- Make sure there is no sunlight coming from one direction as this could kill the green screen composite.
- There must be as much space as possible between the subject and the green screen. This will help with mimicking the lighting in your new background clip and avoiding any green tones spilling off the screen onto the edges of the subject.
- The ideal distance is about 10 to 15 feet between the subject and the screen.
- AVOID wearing any green colors or reflective or mirrored articles of clothing.
- Make use of makeup powder to get rid of shine on the face or head.